
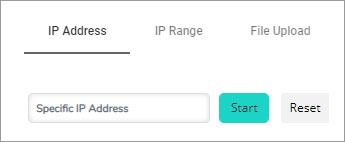
ORNMS provides the three ways of searching the devices in the network.
IP Address – Discovery by specific IP address
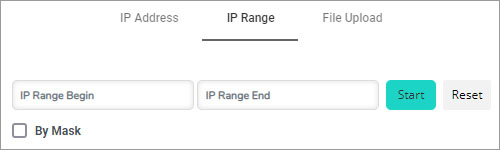
IP Range – Discovering devices by IP Range/Subnet mask
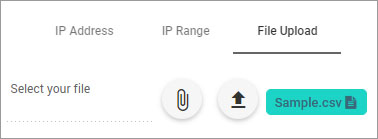
File Upload – Discovery through predefined template
Navigation: Click on the configuration icon on the main toolbar.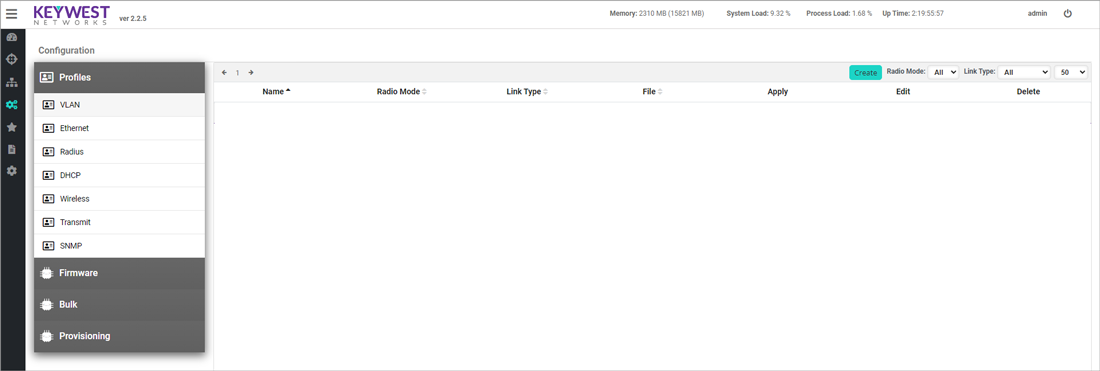
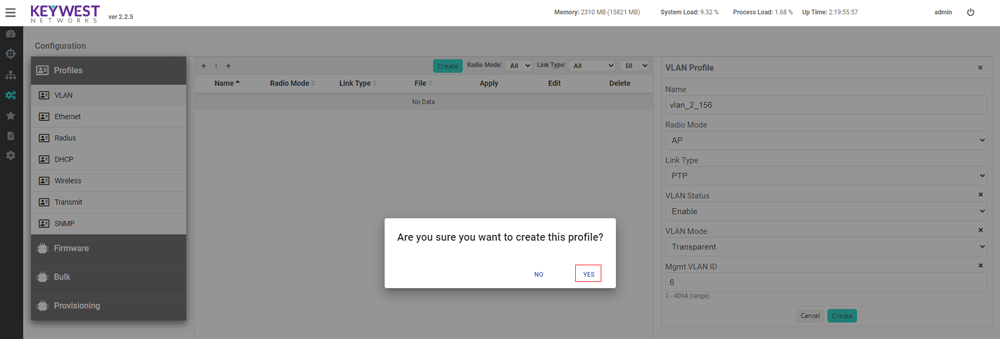
Create VLAN Profile
To create a VLAN profile, click on create button Enter the following details in the input fields like Name and select Radio Mode, Link Type VLAN status VLAN Mode and VILAN ID from the drop down and click Create button.
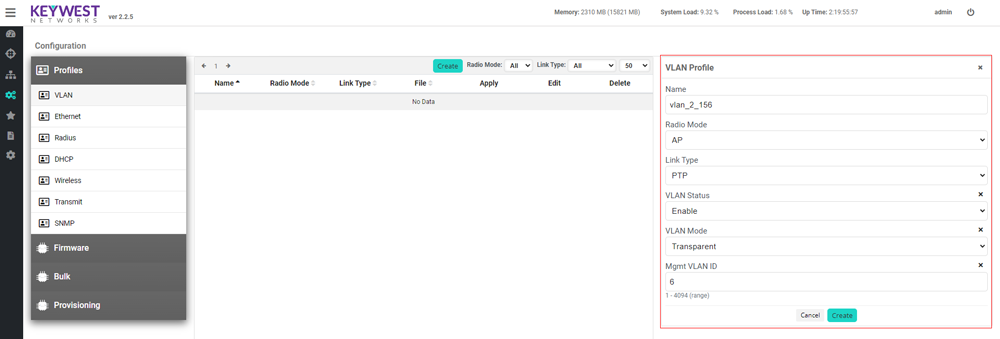
Click Yes to create the VLAN profile

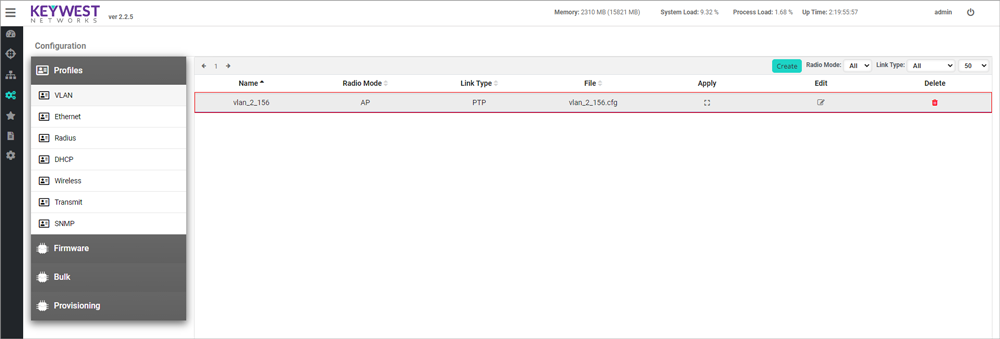
Click Ok to create the VLAN profile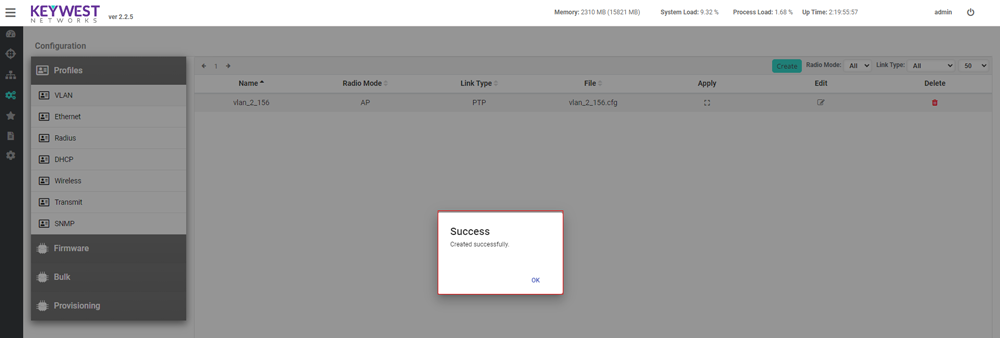
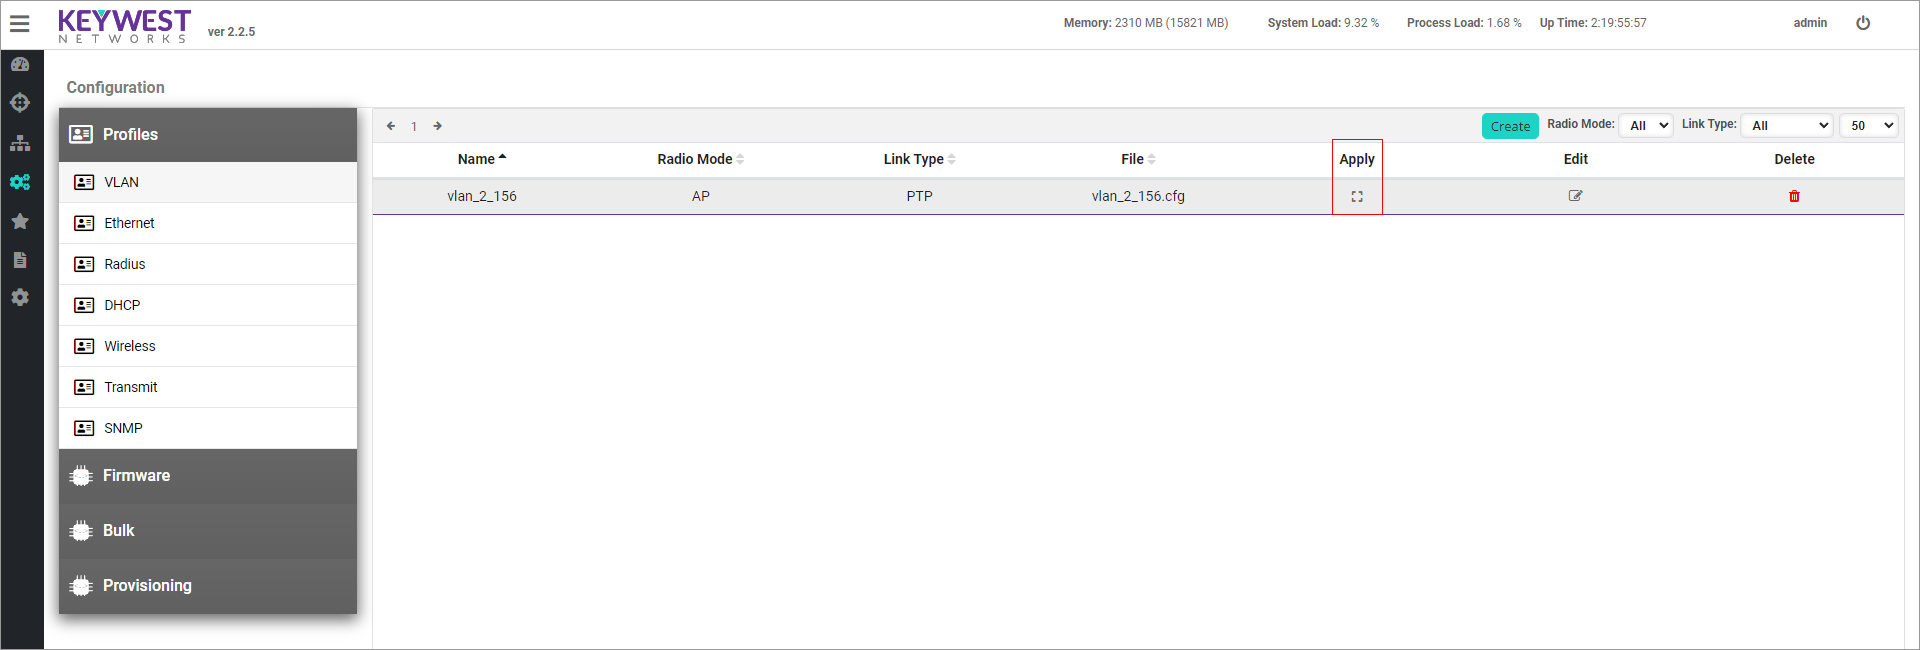
Apply VLAN Profile
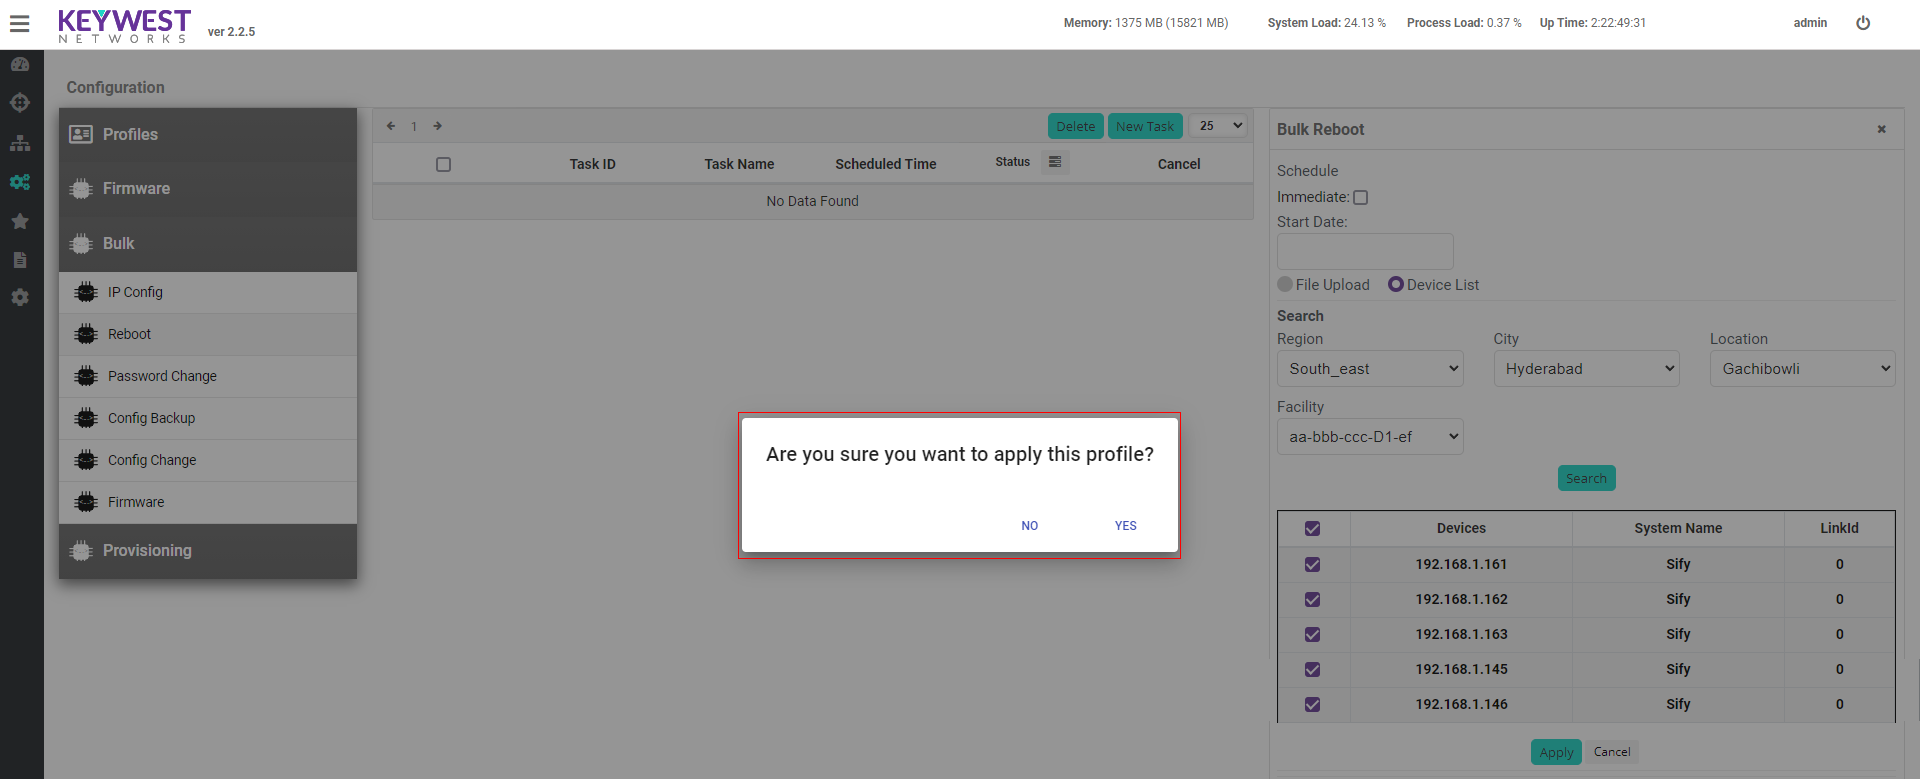
Click on the Apply button to open Apply Profile dialog box. Existing profiles can be applied by clicking the apply icon. The Existing profiles can be searched by selecting Region, Location and Facility and then click the Apply icon to make VLAN changes for reference see the picture below.

Edit VLAN Profile
Click on the Edit Icon to edit the existing profiles from the list

Edit the Radio mode, Link Type, VLAN status, VLAN Mode and click Update button to make changes
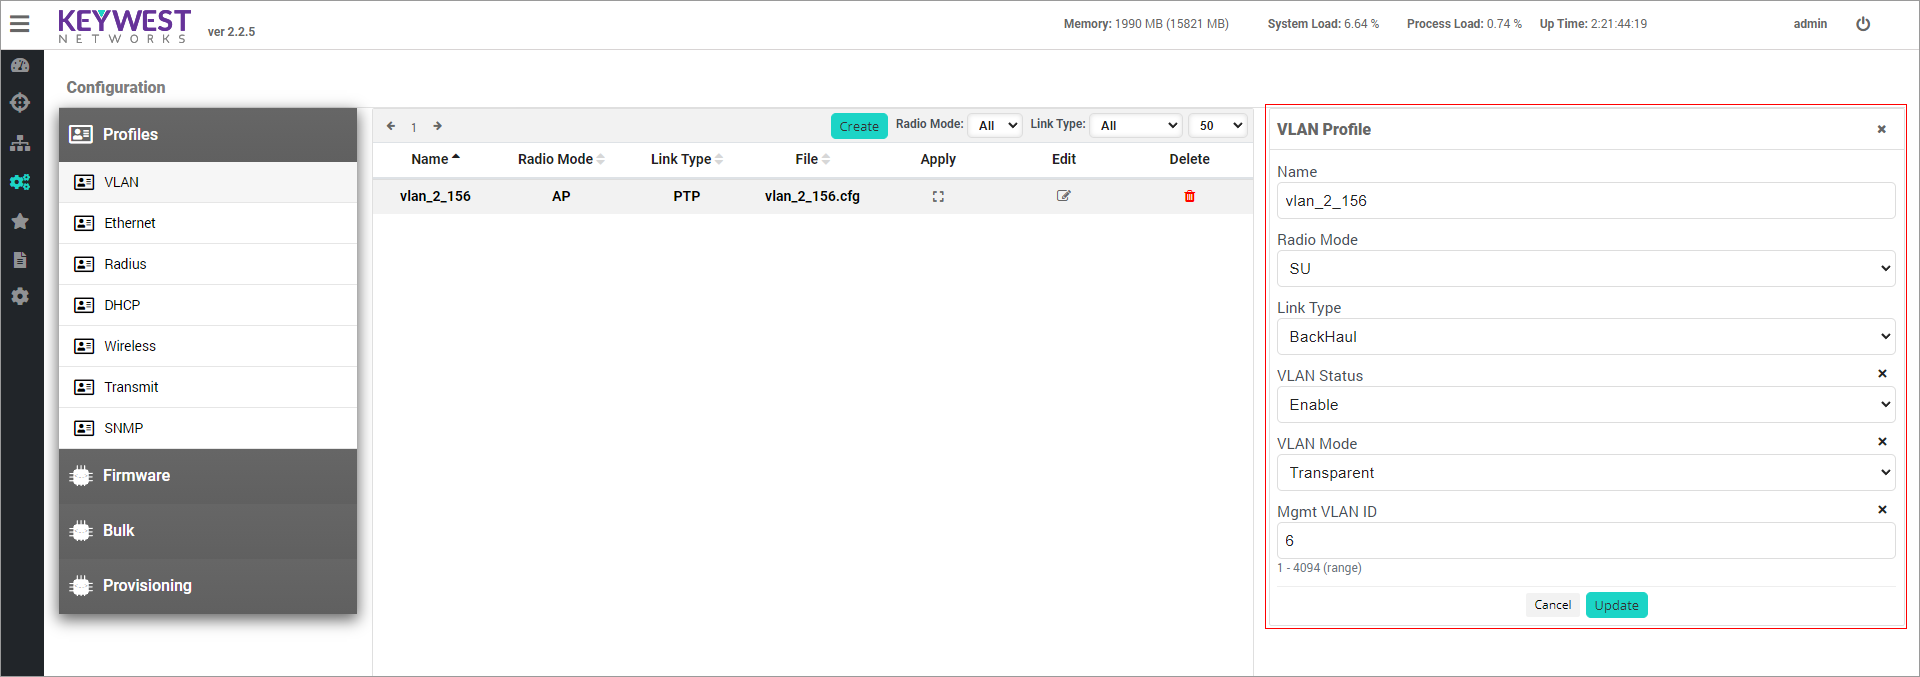
Click Yes to update changes

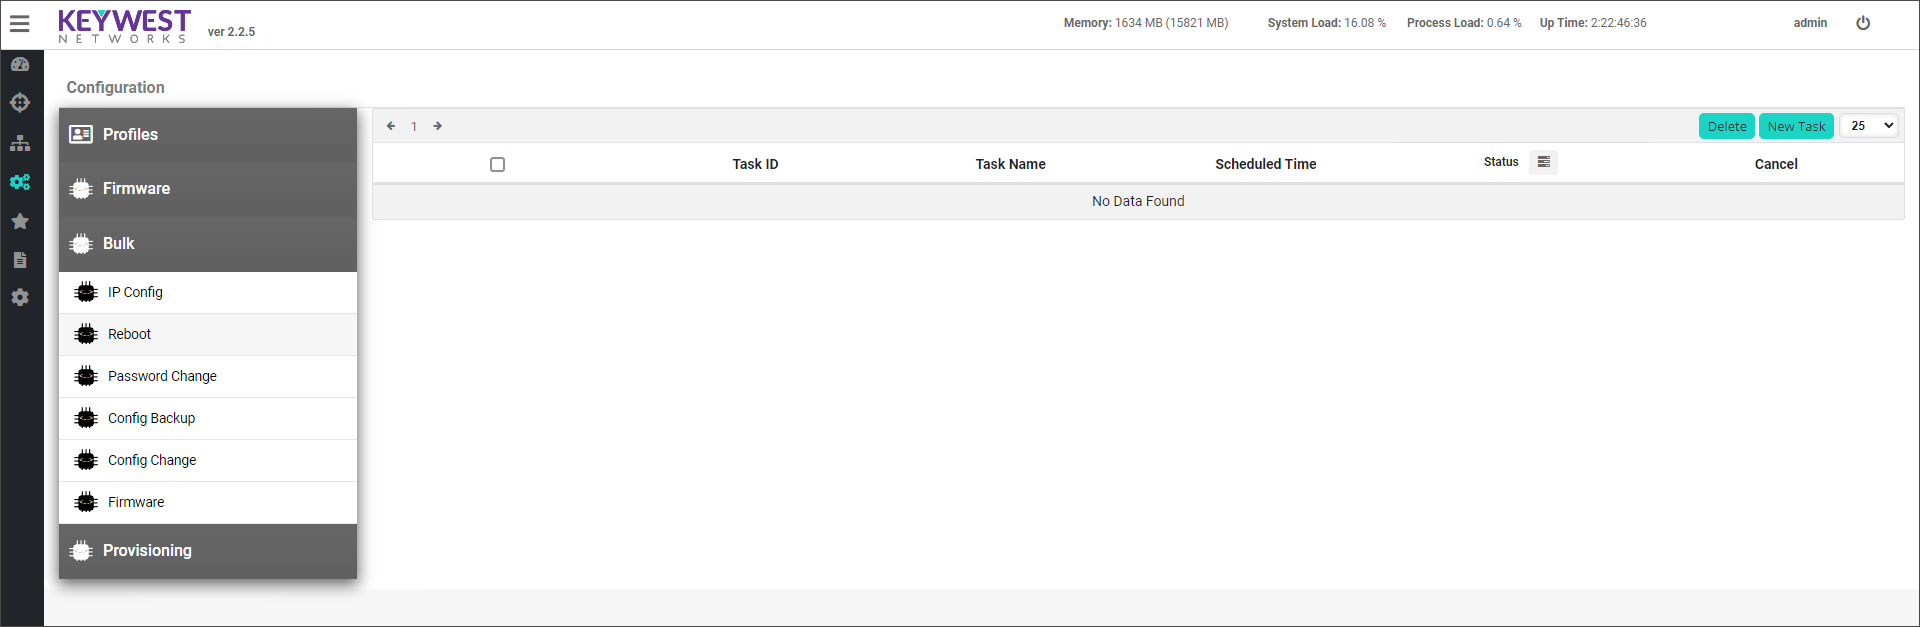
Navigate to – Configuration -> Bulk -> Reboot Task Click on the New Task to reboot bulk devices.
In the reboot dialog box, Uncheck the Check the schedule to apply immediate changes to the tasks. Select the csv format file to upload the list of IP address of the devices to be rebooted.

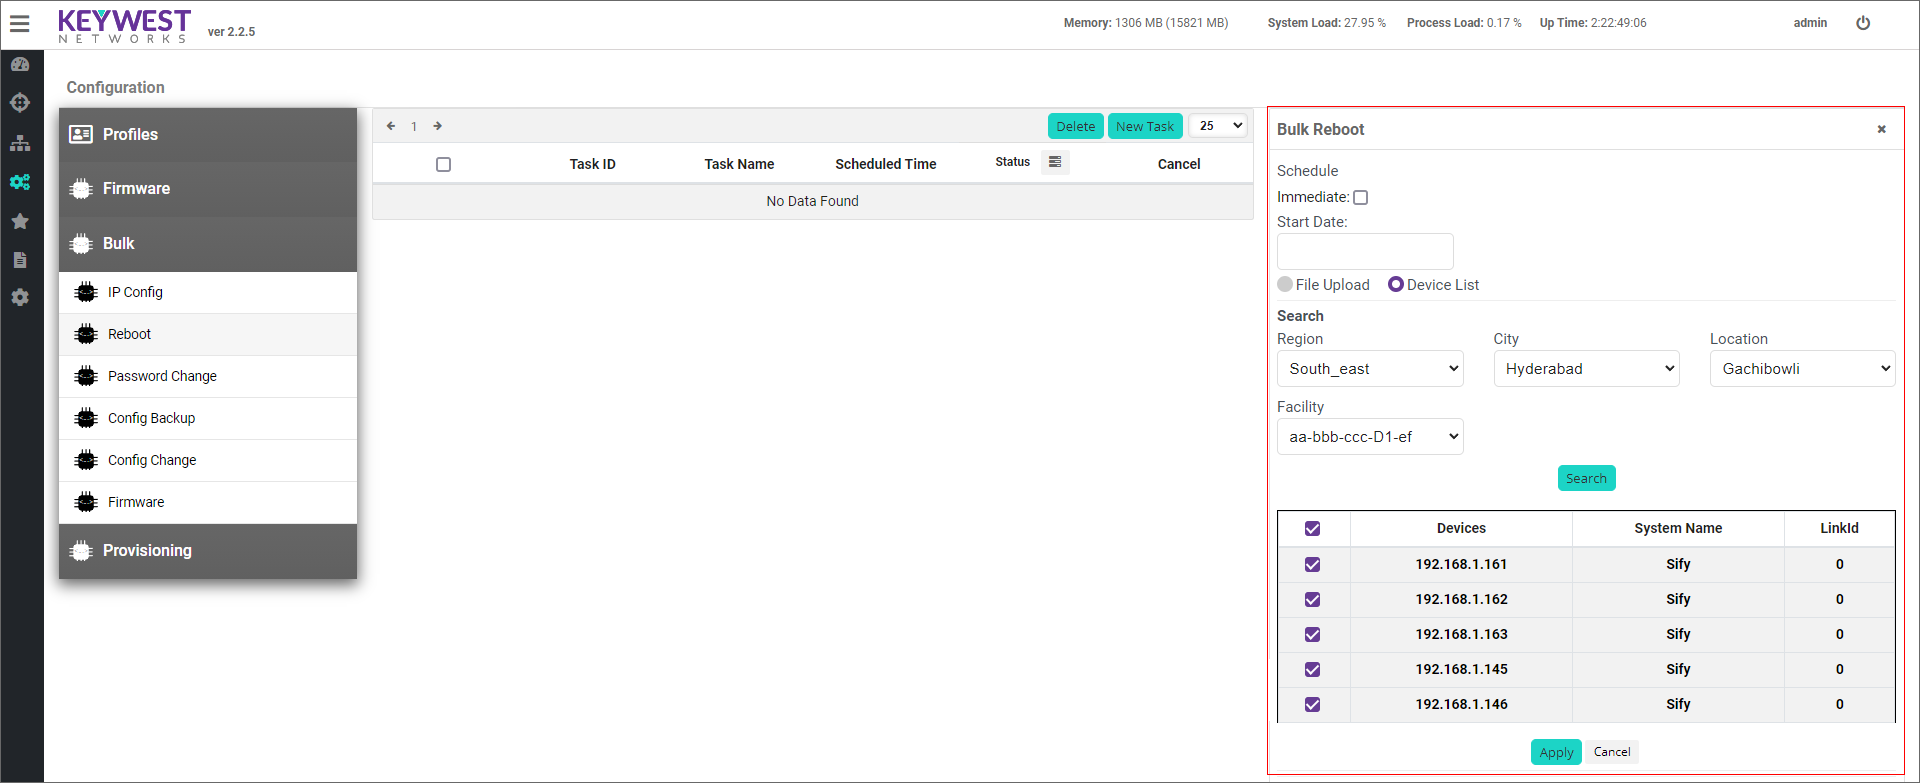
If the user selects the device list option and select the devices based on Region, City, Location and Facility and click Apply. The bulk list of devices will reboot.

The list of devices will appear and status can be seen by clicking the list.

A. Backup configuration allows to take the backup of the configuration of the devices
Creating Config Backup:
Navigate to – Configuration -> Bulk -> Config backup

Click on New Task -> on the right side the Config backup section will open.
Uncheck the checkbox for scheduling the task or keep as it is for running the task immediately.
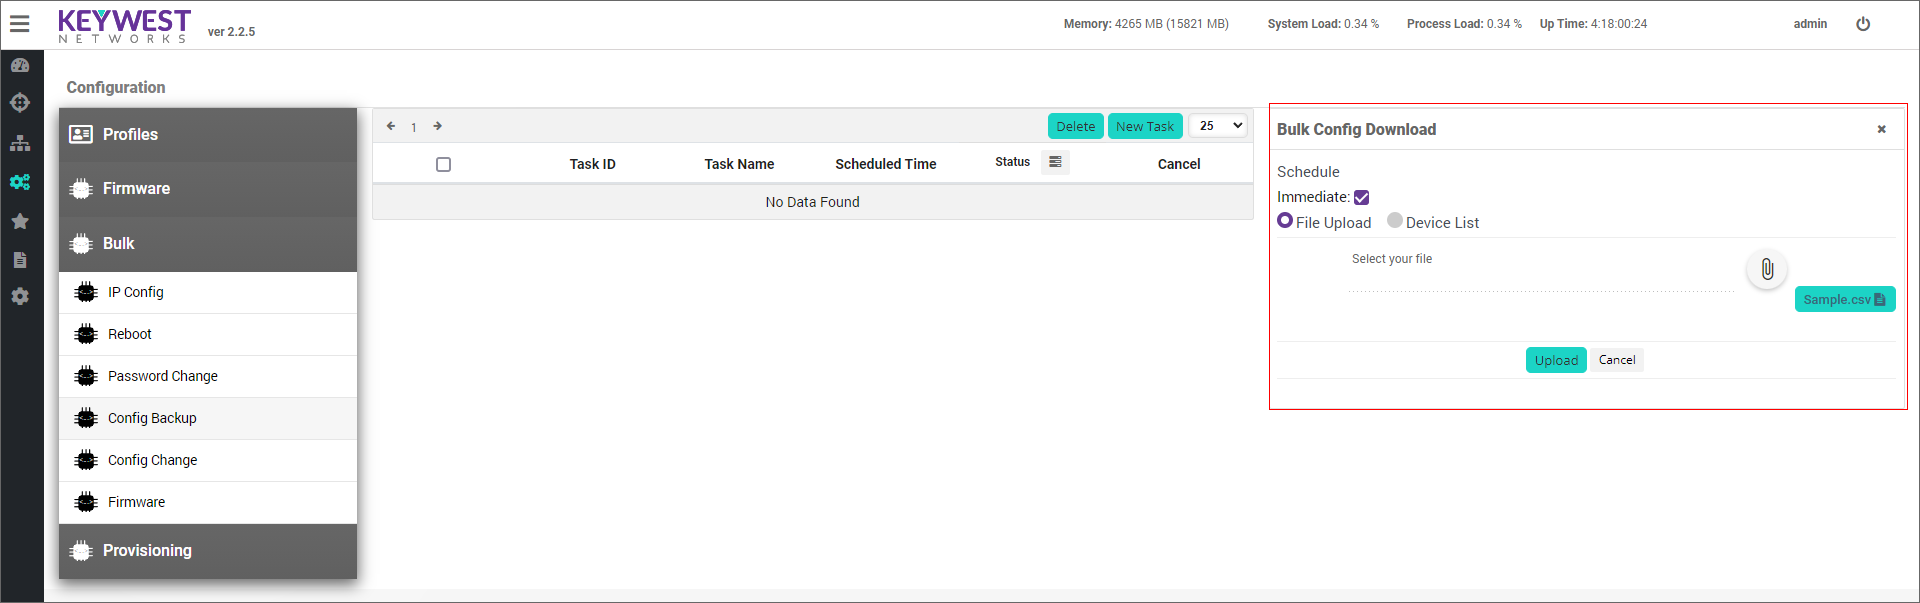
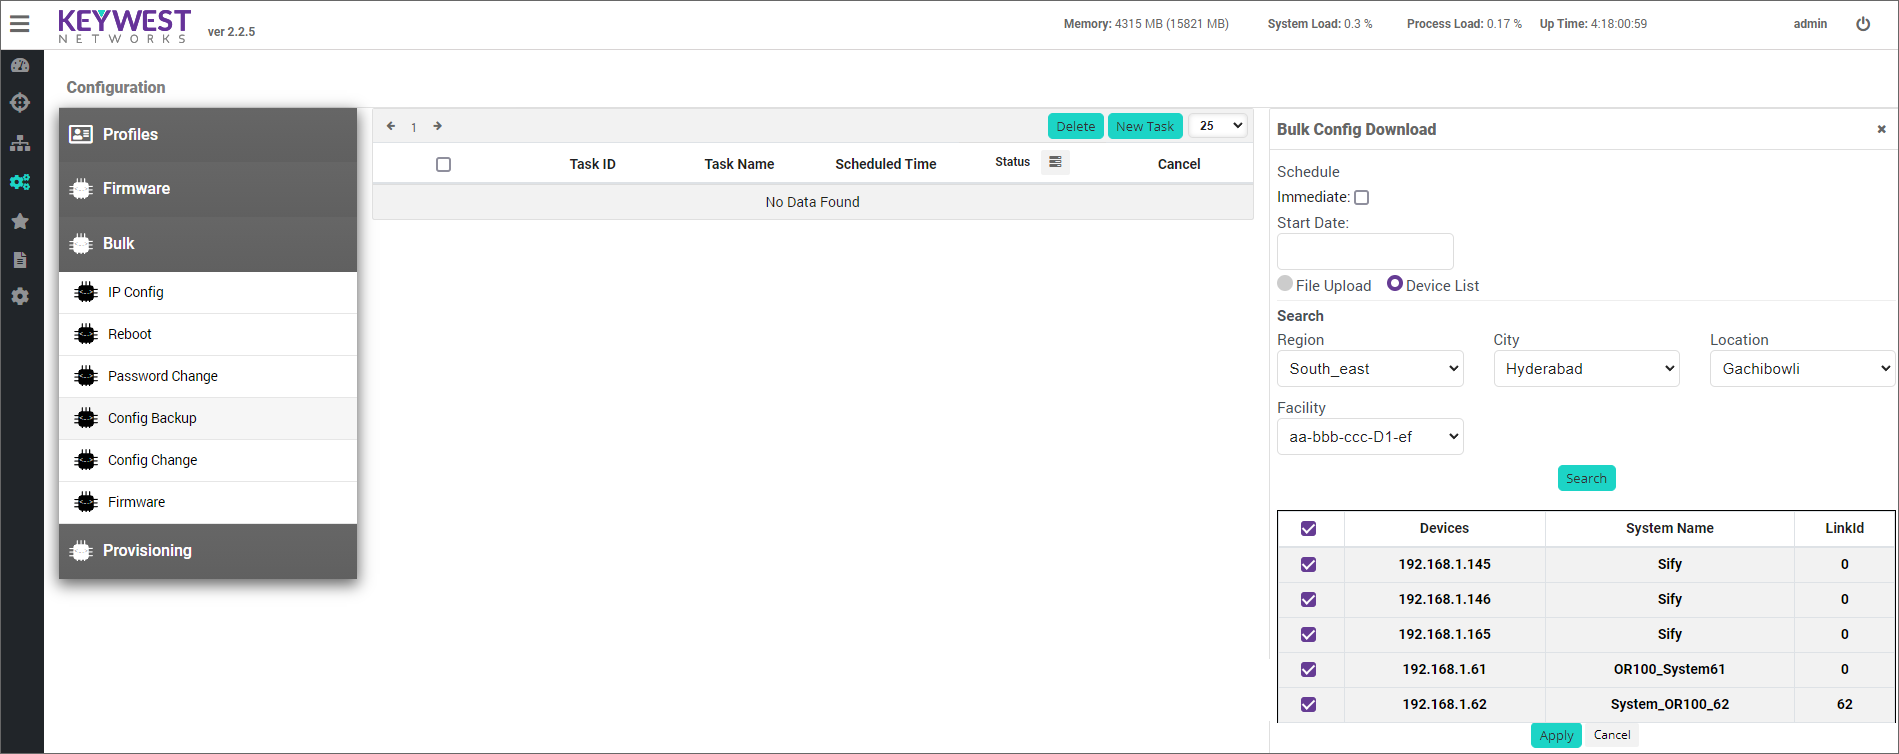
User can either select the devices by using the Region/Location/Facility filter for rebooting the devices or by using the file upload option available. If the user selects the option of performing the config backup by file upload, then the file should contain the list of IP address for whom config backup must be initiated.
Click on Apply button for initiating the configuration backup task.
Allows to make configuration change for a particular parameter of the device. User can select the parameter which needs to be changed from the list of configurations available. User can also search for the parameter from the drop-down option and select the parameter. Once the task is initiated based on whether it is an immediate task or scheduled task the configuration is pushed to those devices specified. As the values cannot be validated the user needs to verify the value provided to the parameter thoroughly, as if a wrong value is pushed to the device may cause issues.

Creating Bulk Config Change:
1. Navigate to – Configuration -> Bulk -> Config change.
2. Click on New Task -> on the right side the Config change section will open.
3. Click on the drop down -> “Select config parameter” for selecting the parameter.
4. Once the parameter is selected, a text box is shown for providing the value. Only those values need to enter in the text box based on the “Note” which is shown right below the text box.
5. Uncheck the checkbox for scheduling the task or keep as it is for running the task immediately.
6. Select the devices by using the Region/City/Location/Facility filter for applying the configuration to the devices.
7. Click on apply button for initiating the configuration change task.
SNMP Config section allows to modify the SNMP Configuration. ORNMS collects and manages devices using SNMP protocol and it should have the same configuration as in the radio.
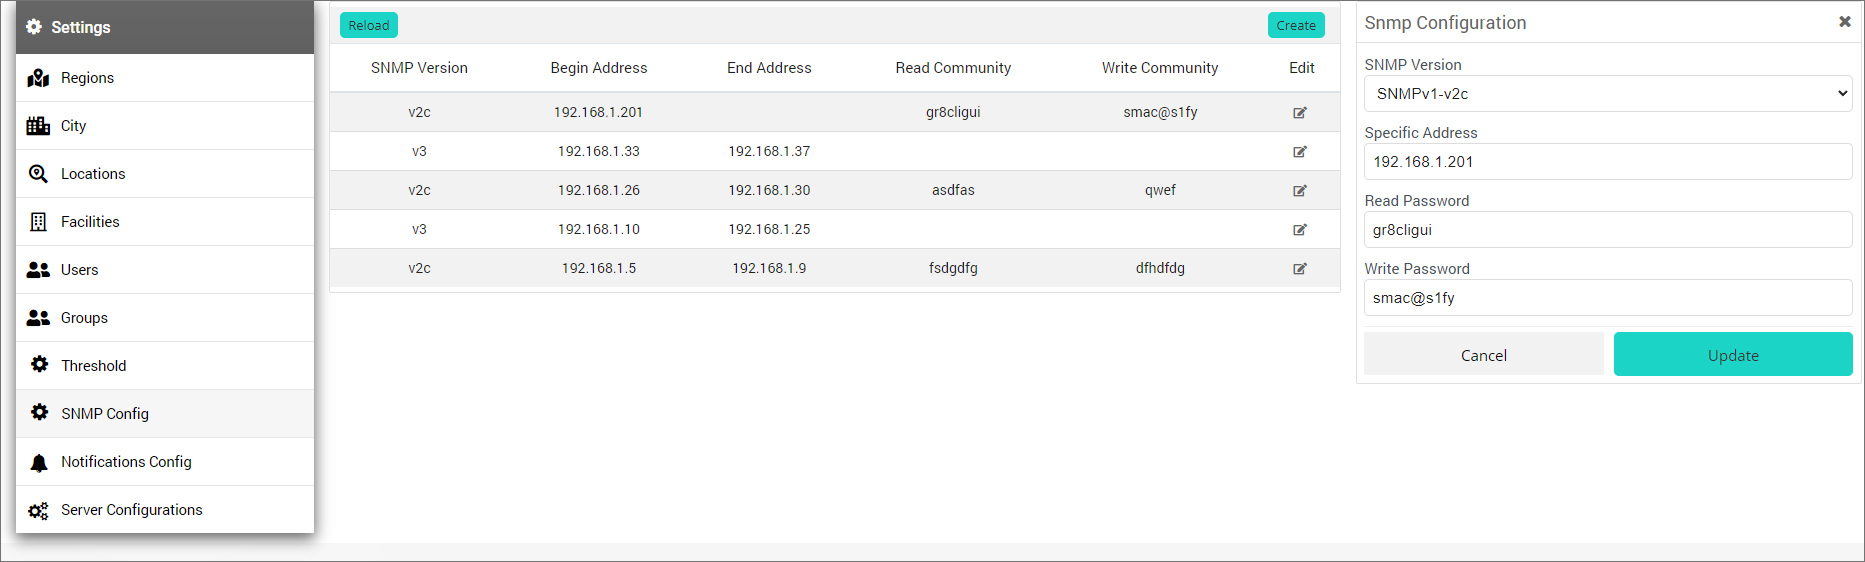
If a particular radio with different community settings needs to be discovered, user can provide either separate SNMP configuration for single device or a group of devices by providing single IP address of the device or range of IP address when a group of devices containing the same configuration.
Auto Provisioning allows to provision the device with an existing template. The template configuration can be created either before the device is discovered or after the discovery of the device.
Steps for Auto provisioning the devices
Go to settings -> Server Configuration and provide the TFTP/FTP configuration
Go to Configuration -> Auto Provisioning
Select from the options
Existing -> If configuring the existing devices which are already discovered and in un-provisioned state.
New Device -> Provide the “Serial Number” of the device for which the configuration has to be created.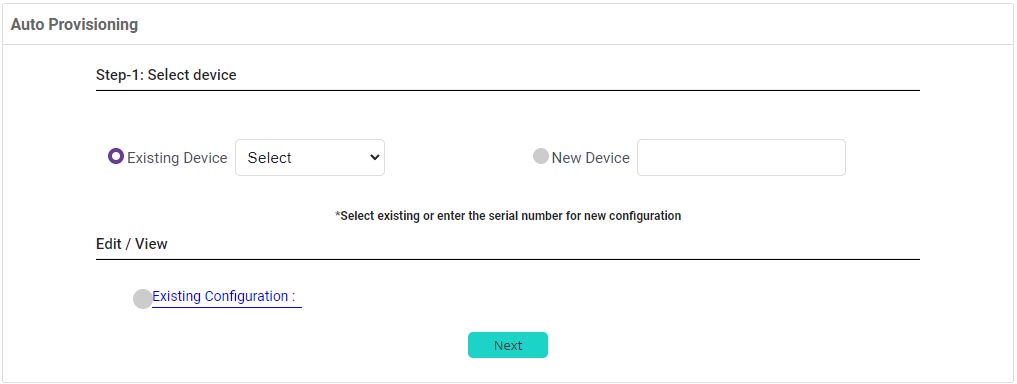
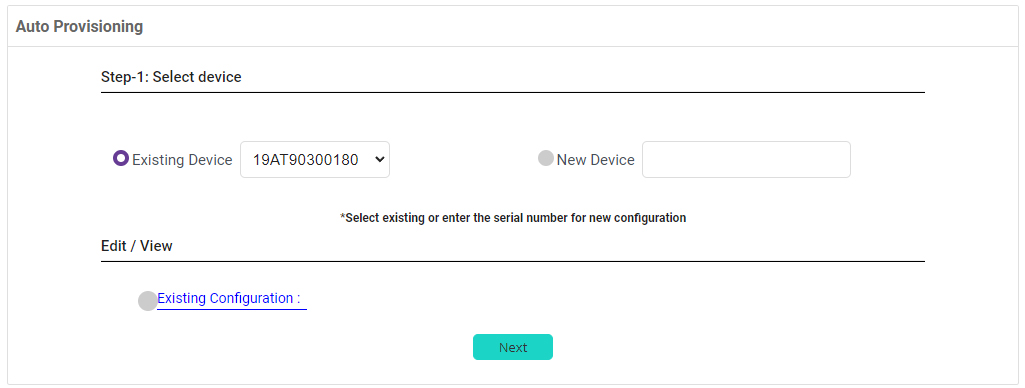
Click on “Next” for selecting template.

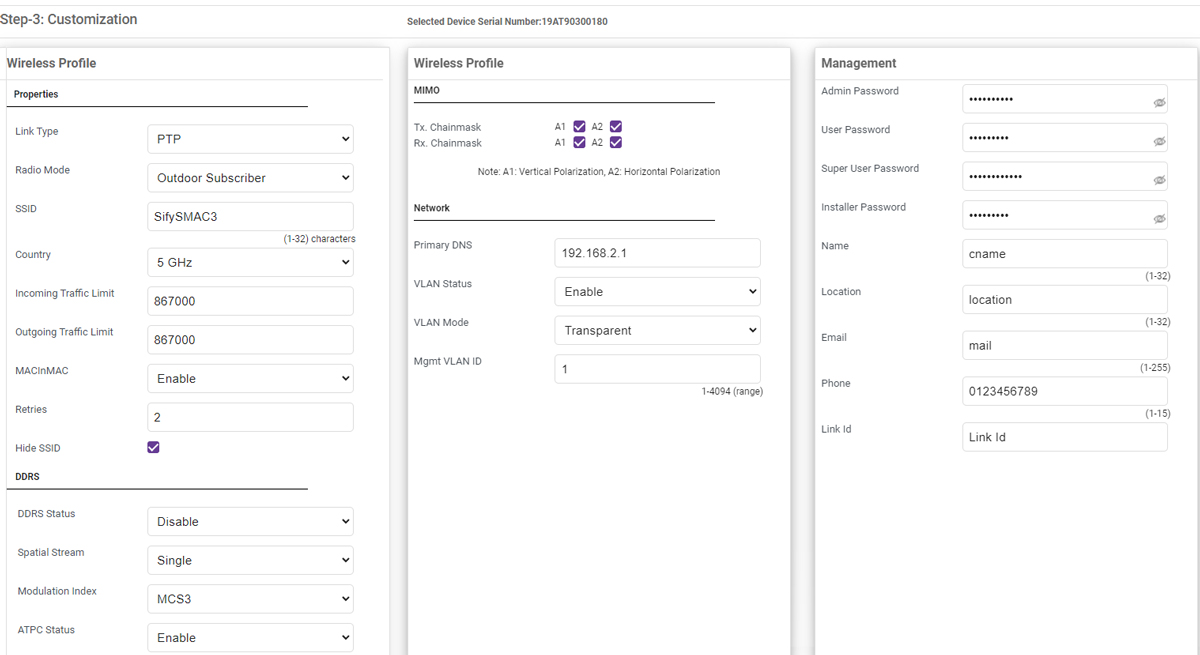
Based on the template selection customization of the template can be done in the “Customization” section.
Once the Customization is done click on “next” for previewing the configuration which will be created.
After validating preview click on “Next” or click “Back” button for making any further changes.
Once everything is done click the “Create” button for creating the configuration.
Inventory Report lists all the devices which are currently discovered in ORNMS. Devices can be filtered based on the Region/Location/Facility filter available and default number of devices listed are 25.

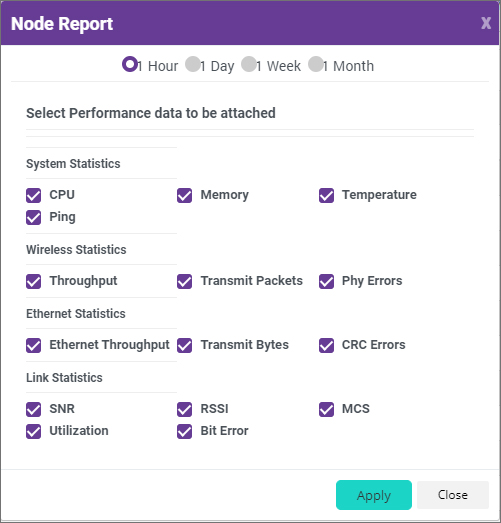
Node Report: A detailed information about the selected device. The output of the report will be in .pdf format, which has the graphical representation of the data based on the duration selected.
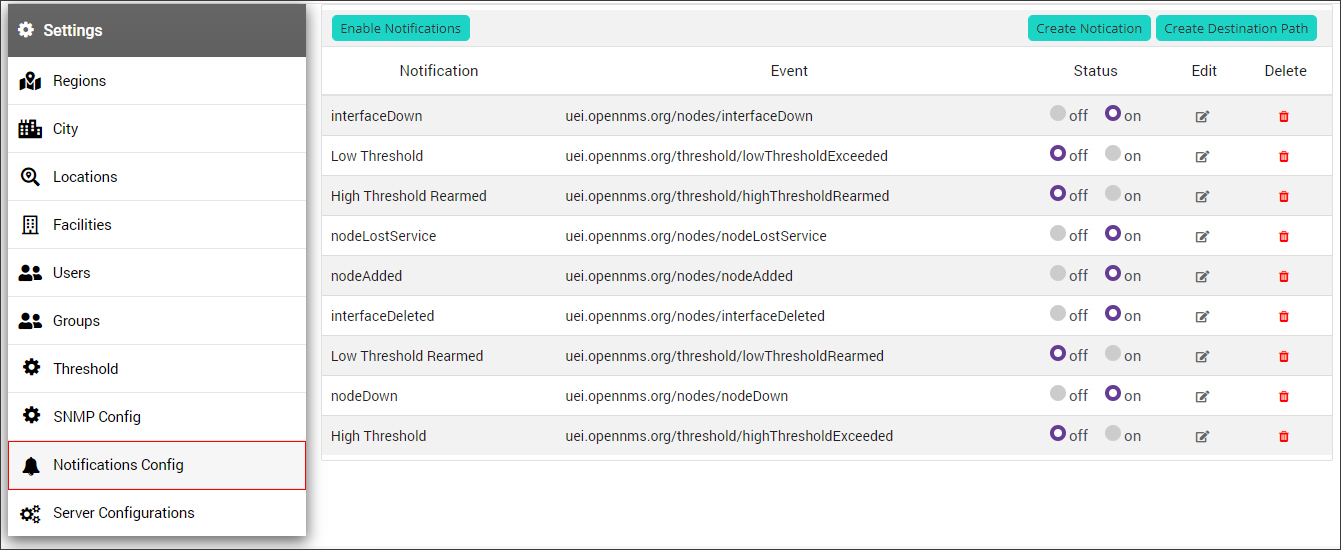
For accessing Notifications Navigate to Settings -> Notifications Config
Configure email server
Login to ORNMS, navigate to Settings -> Server Configurations. Select Email configuration arrow.
To create email configuration enter the Host, From Address, SMTP port, Authentication User and Authentication Password and select the SSL, TLS Enable/Disable.
To create email configuration enter the Host, From Address, SMTP port, Authentication User and Authentication Password and select the SSL, TLS Enable/Disable.

Configure User
Navigate to Settings -> Users. Click on “Create” button to create new user. To create configuration user enter the User Name, Full Name, Email, Password, Confirm Passord, and select the region and click Create.

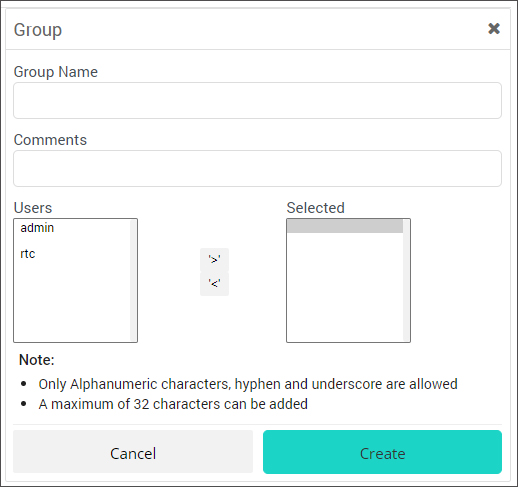
Configure Groups
Navigate to Settings -> Groups. Click on “Create” button. Enter the Group Name(unique name), Comments (description) and select the user from the list (currently available in ORNMS.
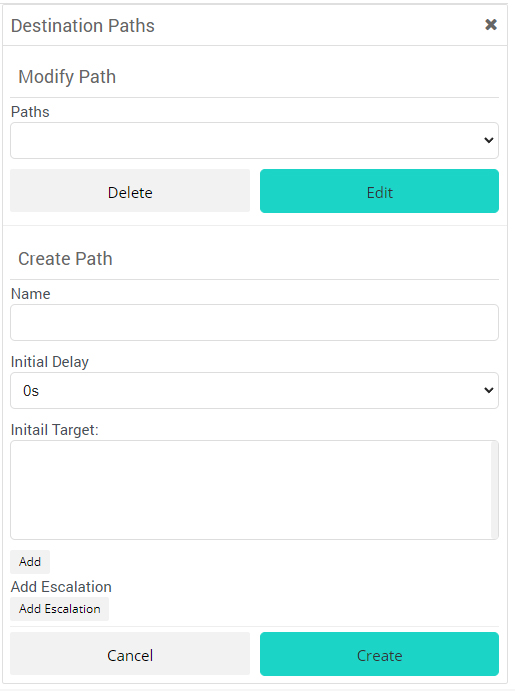
Create Destinations Paths
To create a new notification, navigate to Settings-> Notifications Config, click on “Create Destination Path”.
Modify Path: modify the existing paths. Select the existing path from the drop down and select edit.
Create Path:Create a new destination path.
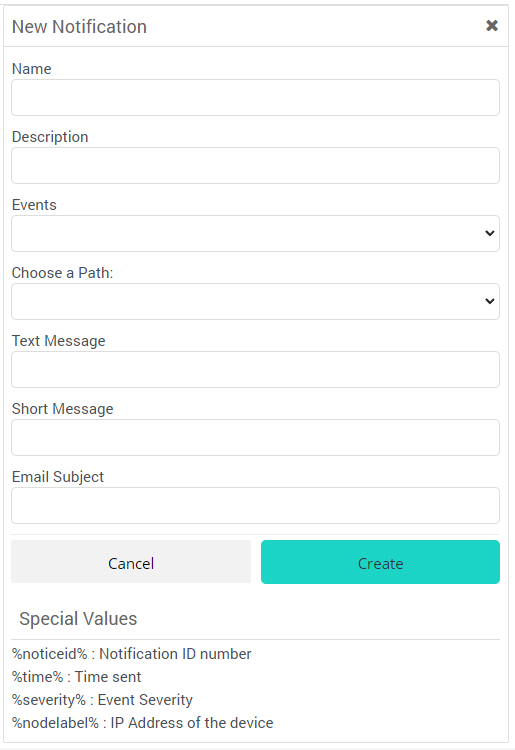
Create Notifications
To create a new notification, navigate to Settings-> Notifications Config, click on “Create Notification”. Enter the name Desctiption, and select the events and chose the path, text message, short message, email subject and click Create.
Hardware Replacement allows to apply the configuration for the new device which will be installed as a replacement to the existing device. The configuration for the existing device which will be replaced should be downloaded from the device.
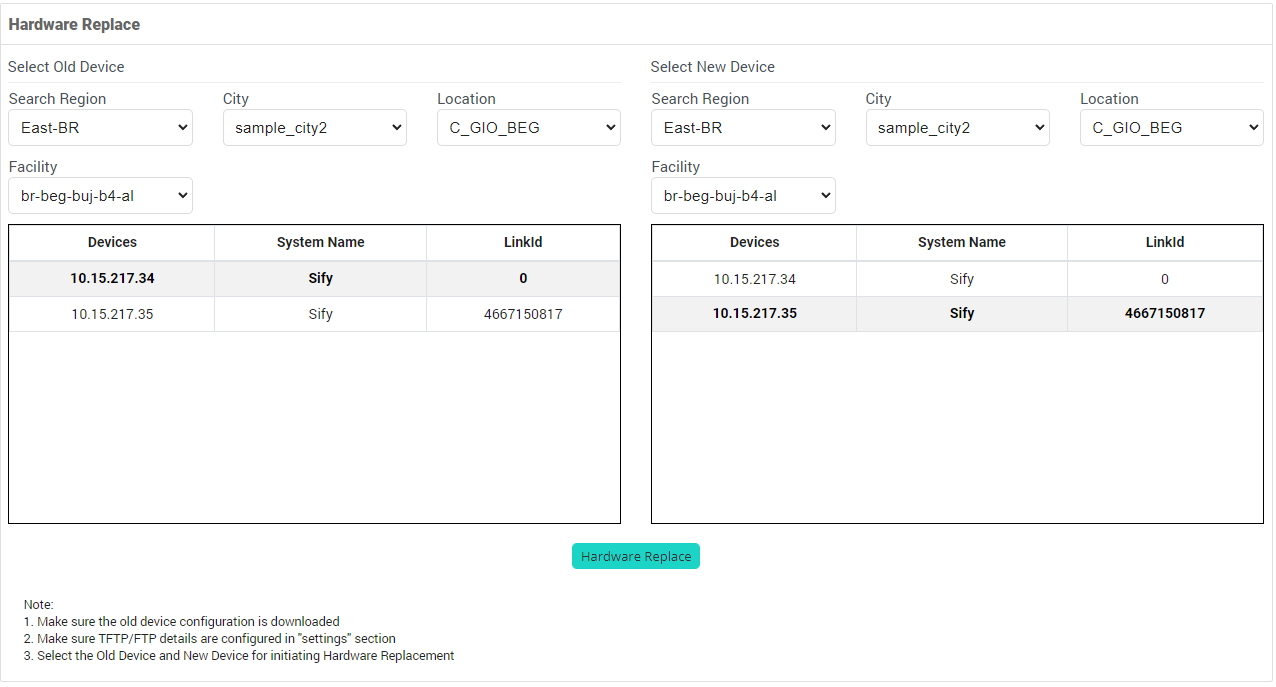
Steps for Hardware Replacement:
Go to Configuration -> Hardware Replacement section.
Select the existing device whose configuration is downloaded using the Region/City/Location/Facility filter
On the right side select the device for which the configuration has to be applied and click on “Hardware Replace” button.
The existing configuration will be pulled by the new device based on the FTP/TFTP configuration available.
Frequently Asked Questions
Latest News